Krittapon Phacharoen
Krittapon's github web
ESP32 mqtt client publisher
การใช้ ESP32 เชื่อมต่อกับ MQTT เพื่อเป็น publisher ส่งข้อความให้กับ MQTT Broker
ESP32 เป็น Micro controller ที่สามารถเชื่อมต่อ Wifi ได้ ดังนั้นจึงสามารถเชื่อมต่อกับ MQTT ได้ โดยสามารถเขียนโปรแกรมร่วมกับ Arduino ได้ ไม่ซับซ้อน
Library ที่จำเป็นต้องใช้ในการเชื่อมต่อระหว่าง ESP32 เข้ากับ MQTT
- library Wifi ใช้สำหรับเชื่อมต่อ Wifi >Click to download Library Wifi<
- Libraly Mqtt ใช้สำหรับเชื่อมต่อเข้ากับ Mqtt >Click to download Library MQTT<
โค้ดการทำงาน
#include <WiFi.h>
#include <WiFiClient.h>
#include <WiFiServer.h>
#include <WiFiUdp.h>

#include <WiFi.h>
#include <MQTT.h>

#define MQTT_BROKER    "IP Address MQTT Broker"
#define MQTT_PORT      (1883)

#define CLIENT_ID      "arduino_client"
#define SUB_TOPIC      "Subscribe Topic"
#define PUB_TOPIC      "Publish Topic"
#define INTERVAL_MSEC  (5000)

#define Wifi_SSID      "SSID"
#define Wifi_password  "PASSWORD"

WiFiClient net;        // ESP32 WiFi client
MQTTClient client;     // MQTT client
uint32_t last_pub_ts_msec = 0;

void connect() {
  // connect the WiFi network first (if not already connected)
  while (WiFi.status() != WL_CONNECTED) {
    delay(1000);
  }
  Serial.print( "\n\nConnected: ");
  Serial.println( WiFi.localIP() ); // show the IP address
  // connect/reconnect the MQTT broker
  while ( !client.connect( CLIENT_ID) ) {
    delay(1000);
  }
  client.subscribe( SUB_TOPIC, LWMQTT_QOS1 );
}

// This is the callback function for the incoming MQTT message.
void onMessageReceived( String &topic, String &payload ) {
  uint32_t now_msec = millis(); // message reception timestamp
  Serial.printf( "Received: topic='%s', payload='%s', rtt=%lu msec\n",
         topic.c_str(), payload.c_str(), now_msec-last_pub_ts_msec );
  Serial.flush();
}

void setup() {
  // initialize the Serial port
  Serial.begin( 115200 );
  // use WiFi station mode
  WiFi.mode( WIFI_STA );
  // start the WiFi client
  WiFi.begin( "Wifi_SSID", "Wifi_password" );
  // initialize the MQTT broker
  client.begin( MQTT_BROKER, MQTT_PORT, net );
  // set keepalive to 60 seconds
  client.setKeepAlive( 60 );
  // connect with a clean session
  client.setCleanSession( true );
  // set the MQTT callback function
  client.onMessage( onMessageReceived );
  // connect the WiFi and the MQTT broker
  connect();
}

void loop() {

  if ( !client.connected() ) {
    // reconnet the WiFi and/or MQTT if disconnected
    connect();
  }
  client.loop(); // process the MQTT event (non-blocking call)
  client.subscribe( SUB_TOPIC, LWMQTT_QOS1 );
  if (Serial.available() > 0) {
    String massage = Serial.readStringUntil('\n');
    client.publish( PUB_TOPIC, massage, false, LWMQTT_QOS1 );
  }
}
การทำงานของโปรแกรม
- เริ่มจากเชื่อมต่อกับ Wifi และ MQTT Broker
- โปรแกรมจะรออ่านข้อความจาก Serial Monitor
- เมื่อมีข้อความเข้ามาจะทำการส่งข้อความนั้นไปยัง MQTT Broker โดยจะมีฟังก์ชั่นที่รอการตอบกลับจาก MQTT Broker เพื่อยืนยันการส่งข้อมูลสำเร็จ แล้วนำมาแสดงผลใน Serial Monitor
รูปภาพตัวอย่างการทำงาน
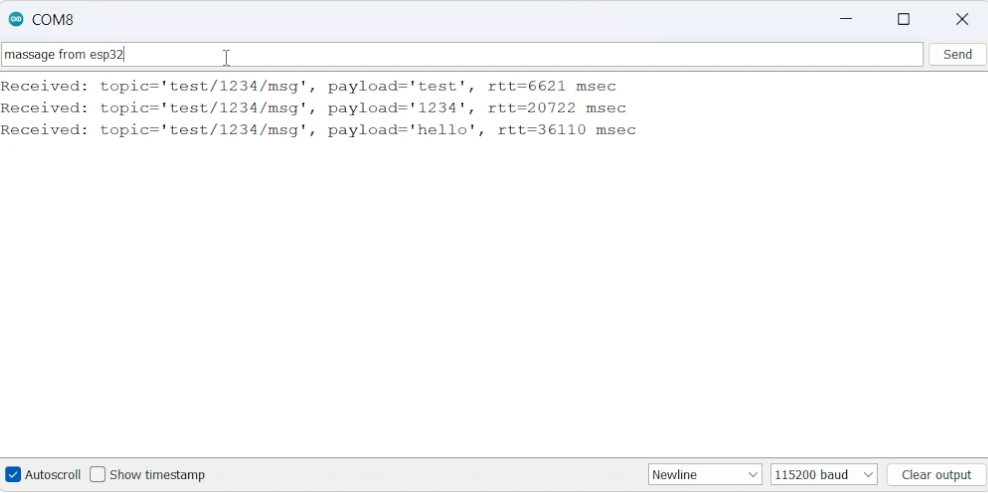
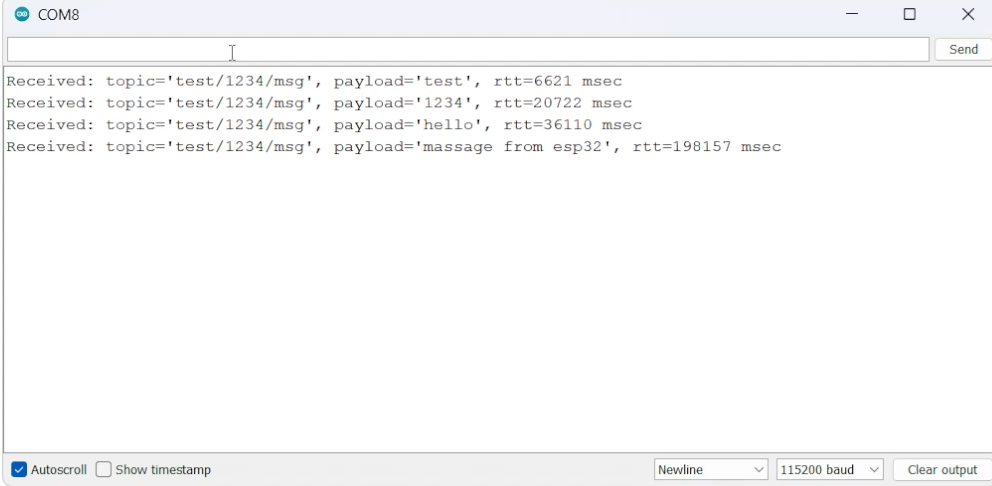
รูป การส่งข้อความและแสดงผลใน Serial Monitor
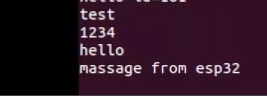
รูป ข้อความที่ได้รับจาก Mqtt Client ที่ Subscribe Topic เดียวกันไว้